Tuesday, May 17, 2011

Brooches

Since I posted that last enameling post, I thought it might be nice to show my finished enameled brooches.

I wanted to create brooches that look similar to campaign pins, but were for recycling. I feel like recycling is held  in high esteem by people who already thought it was important, but in terms of gaining new supporters it seems somewhat difficult. I figured if there were campaign pins, maybe it would get people thinking.


As you can see, the backs of the pins are the tops to coke cans. I also used recycled glass from C&R Kuttbottle and fused it to the enamel to give extra color and dimension. The pins are about 3 inches in diameter, maybe a little smaller.


This is my favorite (and most involved) one. I tried to rivet the arrows on and it was a NIGHTMARE. So instead of riveting the smaller dome to the larger one, I just used enamel to fuse them together. I'm also a sucker for blue/green/teal colors.


This isn't enameling, obviously, but I've been playing with stitching on metal so I added it to the campaign button idea. I love the soft/hard mixture of thread and metal. 


These are some samples of experimentation with sandblasting resist on the enamel. Depending on the thickness of enamel and the amount of sandblasting, the results can be somewhat dimensional.


One of my favorite fold-form shapes enameled with natural colors. I meant it to be a pendant, but the holes closed up and it makes a really nice ring!

Friday, May 13, 2011

Enameling

This semester, I've really gotten into enameling, which is the process of adding colored glass to metal. Most colored metal things in jewelry (that aren't stones) are enameled. Not all, but most. Enameling is REALLY fun. It feels kind of like playing with a really hot and slightly dangerous easy bake oven. It definitely has that instant gratification factor when you pull it out of the kiln and it looks perfect. Most things in the metal world are definitely NOT instant gratification. It takes a  lot of time and screw ups to get something to look the way you want, but with enameling it still takes work but it's definitely not as long of a journey.


Enamel starts as powder that comes in cute little jars. Theres transparent enamel and opaque enamel. The transparent is somewhat finicky but can give really interesting layered results. Opaques tend to be brighter, bolder fields of color.


That red thing is called a sifter, and it works like a tiny flour sifter. It allows you to distribute the enamel evenly over the surface of the metal, like dusting something with powdered sugar in a sifter.


Then the piece goes in this steel tripod, called a trivet. This has three points of contact to minimize sticking. With enamel, you HAVE to enamel both sides, otherwise its very weak and breaks easily. So the trivet keeps the back side from sticking (unless the trivet is dirty or you overheat the enamel and make it run all over the place). 


Getting ready to put it in the kiln (the blue thing). A kiln is a super hot oven that is used mainly in ceramics to make clay into hard, useable pottery, but we have a few uses for kilns in metalwork as well. I don't know if you can read the temperature gauge in the bottom right, but it reads 1500 degrees.


We use a funny fork looking thing to put the trivet in the kiln. It's SUPER hot. Enameling is somewhat of a balancing game. If the kiln is too hot, solder could melt and if you forget about it and leave it in there too long, the metal could even melt. But if it's not long enough, the enamel doesn't melt and stick!


My face felt like it was going to burn off taking this picture. Not the smartest thing I've ever done, but I think you get the idea how hot it is in there. It generally takes 2-3 minutes for the enamel to fuse to the metal, depending on the size of the piece.


After it comes out of the kiln, it begins to cool, so we take it off and put it on a steel block to help it cool faster. Anything that wasn't covered in enamel, like the sides of the metal, are now solid black from all the heat.


Here's a view of several samples I was working on at the same time. The orange-ish one on the left is the one I used in all these process pictures. So there you have it, crash course in enameling. Now when you see an enameled piece of jewelry in the store, you know more about how it was made!

I have several enameled pieces in my etsy store, like these:


Tuesday, May 10, 2011

Welcome, Chic-Steals Readers!

Today, I'm doing a giveaway over at chic-steals.com, and I'm looking forward to reading the comments to get feedback from my etsy store!

I am working on a new post that I will finish and put up after my final critique tomorrow! Please feel free to look around!

Sunday, April 17, 2011

My Absence

Oh man, is there a lot going on! I have my graduate exhibition and speech coming up on May 1st, and that has been taking the majority of my time. It's shaping up really well, and I'm expecting to be able to pull it all together in the week before the show. My plan is to do some setup each day of the week instead of waiting until the weekend to do it.

BUT, I am proud to announce that my Etsy is now up and running!! Check me out!

http://stinajimerson.etsy.com

ps-I already sold something!!

Friday, March 11, 2011

Original Jewelry Line

Time is flying by. I meant to post this about a month ago, when the project was due :-( I blinked and a month flew by!

Our first project of the semester was to create a wearable, sellable line of jewelry (10 pieces), and the main object was to move FAST. I didn't quite get that part down. I decided that riveting beads on instead of bezel setting stones would be faster (which it probably was), but it definitely still took FOREVER. Speed was not something I achieved with this line. In fact, I didn't even get all 10 of my pieces made.
I got very very sick a few days before it was due, but even if I hadn't gotten sick, I still would have been way behind.

I learned several things along the way. The planished forms look a lot more interesting than the ones that are sandblasted. It gives them more movement, I think. Also I learned halfway through that I need to seal the copper BEFORE the rivets go on. Otherwise, even with spray finish, I can't get a good solid coat on the pieces. Woops. I also realized that a variance in size/shape of beads looks better and more interesting than just having a lot of the same size. So, my last one (the large brooch pictured above) is the best one, obviously from all the things I learned along the way. The rest are nice, but I definitely need to work on some of them.


Oh, PS. they're based around the idea of throwing up. I think it's funny, and I've gotten very different reactions to the idea. Most people my age think it's hillarious and cool. Older people look disgusted. I named the line "Cute Puke" and the display cards are black and white with a faint mouth in the background (which is where the product sits in the display).


Friday, February 25, 2011

Mokume Gane

A couple weeks ago, some friends, our professor, and I began our Mokume Gane journey of 2011. Let me explain.

Mokume Gane is a japanese metal-fusing technique that offers the most BEAUTIFUL patterns in the metal. Here, let me show you: (All these pictures are samples that Ted McDonah brought with him when he came to show us this technique in Fall 2009.)


Cool, right? Here's how it goes down:


First, We need a LOT of metal. The billet (that's what we call the big hunk of metal that all these sheets of metal will become) consists of around 25ish (depending on what you want) sheets of metal that are 2x3 inches each. The stack ends up being around 1 inch. This picture (above) shows my stack of metal in the contraption we use for firing it. My thumb is in there to show some perspective. Oh, ps-the metal has to be REALLY clean. SUPER clean. It took quite a while to clean all this metal properly.


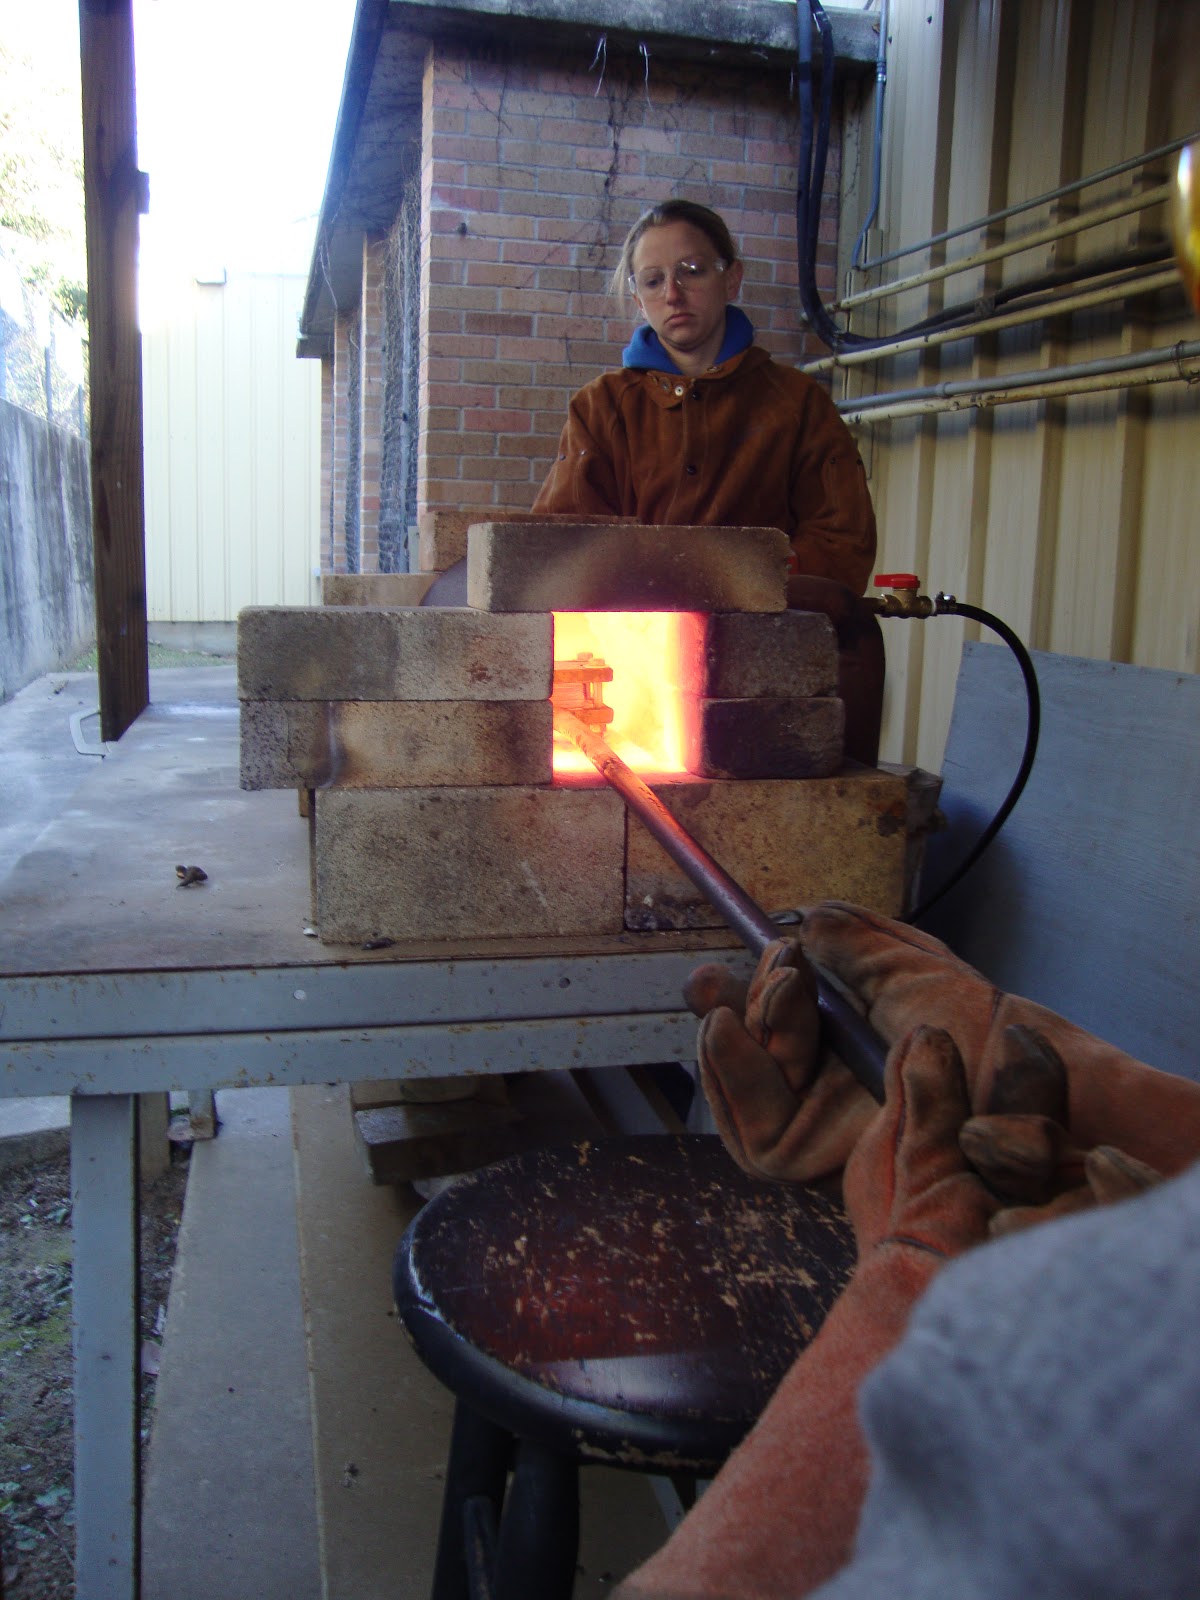
Once the metal is all ready, we fire up the forge. We use propane gas and that forge gets so hot, sitting in front of it is almost unbearable. 


Every minute, I had to flip the billet over. It's not that heavy, but it's at the end of a long pole. Plus the forge is small so the billet has to be turned in one spot. It's somewhat difficult, and we realized pretty early that using a stool to rest the supporting elbow on is the only way to do it.


After about 7 minutes or so, the billet is done cooking, so we take it out. As you can see from Lauren's face, it's REALLY hot.


Then, to get it out, the bolts have to come off.....while it's hot....


Once the billet is out, it gets forged down on the anvil. This process takes a while, and gets done at several different points in the mokume process. The billet gets hit with a heavy hammer, then put back in the forge to anneal, then hit again, then back in the forge, over and over again.


Finally, we end up with a billet that looks like this. It's about 1/2 an inch high now. Those blobs poking out are the unknown alloy that seeps out during the forging process. It's not really a useful material, but it's still fun to collect it.


Now the "fun" part. The sides have to get cut off. During the forging, cracks frequently form on the sides of the billet. The billet has to be cut down so that those cracks get cut off. If the cracks don't get cut off, they will just get longer and longer. Even using the hacksaw, it takes about 45 minutes to cut the short side of the billet! We eventually moved to the band saw, but it still takes about 20 minutes each side. You can see all the layers squished into the billet.


So more forging happens and the billet gets down to about 1/4 inch. This is when the patterning can happen. All the different patterns in the first pictures are made in different ways. Drilling, twisting, denting, and stretching all combine to form various patterns. During the patterning process, the billet continues to be heated and forged with the hammer.

We ran out of gas for the forge this most recent time, so we are stuck for the time being. Currently we are at the "cutting off the sides" stage. From start to finish, this process takes a very long time. I mean it can take weeks. I imagine if someone devoted all their time to this process and didn't do anything else during it, AND if they had someone to trade off swinging the hammer (your arms start to hurt REALLY bad), this imaginary person could probably do this whole process in a few days. Buuuutttt that's not how it happens in our world. 


Me and my glowing billet. It was...warm.

Wednesday, February 16, 2011

Hey, check me out!

Carly J. Cais featured a link to my blog on her website, chic-steals!! This is excellent!

I've been up to a lot recently, and I'm trying to compile pictures to post soon.